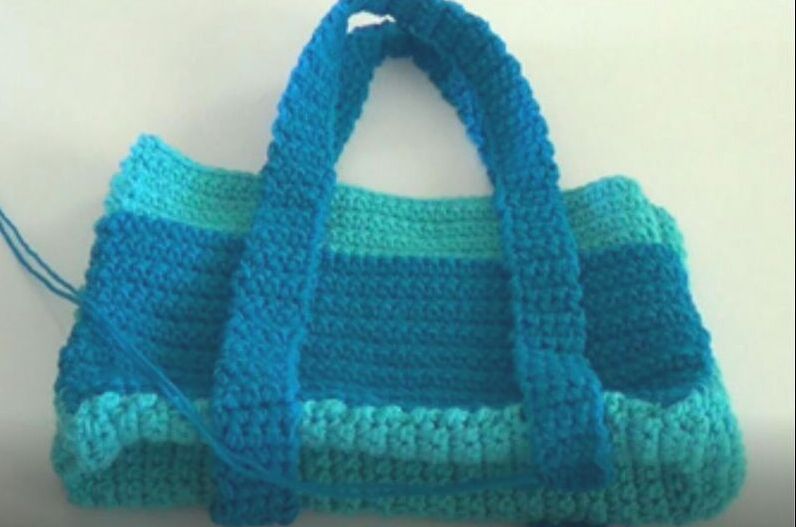
Crochet project bag
Would you like to buy me a cup of tea to say thank you for the free video tutorial and written pattern?
Buy me a coffee
Buy me a coffee
Add this to your Ravelry queue or project page
This pattern includes screen shots from video tutorial
Designed by Clare Sullivan for Crochet guild Australia
Video tutorial - https://youtube.com/playlist?list=PLBAl2EuIYeKs1X86gwi5tPAPNf_RmoP_l
Easy + - US terminology
Size H -10.5 inch/27cm x W 14 inch /36 cm x gusset 4 inch/10 cm
Easy to change size - see notes
Supplies
4 stitch markers, scissors, yarn needle
10ply yarn/ worsted weight - 6 mm/J hook
OR 8 ply/ Light worsted - 4 mm G hook (or you can use 2 strands to make a 10ply yarn/ worsted weight)
I used Red Heart Super Saver
Colour 1 Turqua 350 grams/12.3 oz
Colour 2 Pool 200 grams/ 6.8 oz
Colour 3 Glow worm 80 grams/2.7 oz
Colour 4 Flame (optional pompoms) 40 grams/1.2 oz
Notes
- This pattern is made holding 2 strands of yarn together.
- You can also make this bag holding 1 strand - bag will turn out smaller easy to make bigger
- It is easy to change the size of the bag by changing the amount of starting stitches and the amount of rows that you do - if you are using the worsted weight/10ply/Aran yarn this thickness of yarn and pattern makes a great size project bag for a shawl/hat or baby item
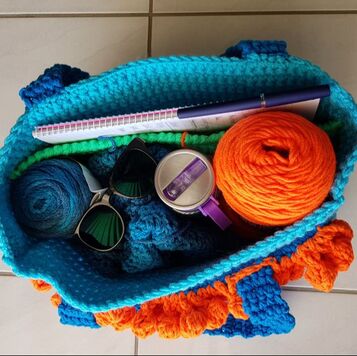
- The orange ball of yarn shown inside the bag is 200 gram
- The note book inside the bag is A4
- Chain can be substituted for the foundation single crochet (fsc) USA/foundation double crochet fdc Aus/UK
- Single crochet (USA) is an Australian/UK double crochet
Front - make 1
Repeat instructions for front
Sides - make 2
- Using 2 strands of colour 1. 40 fsc, turn
- Ch1 (does not count as a stitch) sc in 1st stitch and each stitch across - 40 sc
- Repeat row 2 until you have a total of 29 rows, finish off
Repeat instructions for front
Sides - make 2
- Using 2 strands of colour 1. 10 fsc, turn
- Ch1 (does not count as a stitch) sc in 1st stitch and each stitch across - 10 sc
- Repeat row 2 until you have a total of 29 rows, finish off
Base - make 1
- Using 2 strands of colour 1. 10 fsc, turn
- Ch1 (does not count as a stitch) sc in 1st stitch and each stitch across - 10 sc
- Repeat row 2 until you have a total of 40 rows, finish off
- Using 2 strands of colour 3. 40 fsc, turn
- Ch1 (does not count as a stitch) sc in 1st stitch and each stitch across - 40 sc
- Repeat row 2 until you have a total of 20 rows,
- Reverse single crochet across, finish off
Outside pocket - make 1
- Using 2 strands of colour 2. 40 fsc, turn
- Ch1 (does not count as a stitch) sc in 1st stitch and each stitch across - 40 sc
- Repeat row 2 until you have a total of 20 rows, finish off
Strap - We make 1 continuous strap
- Using 2 strands of colour 2. 4 fsc, turn
- Ch1 (does not count as a stitch) sc in 1st stitch and each stitch across -4 sc
- Repeat row 2 until you have a total of 164 rows, DO NOT finish off - You may need to adjust your rows when you see how your handles fit J
Joining
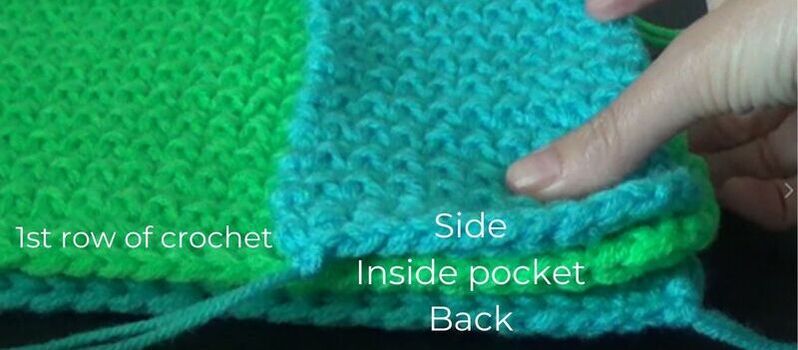
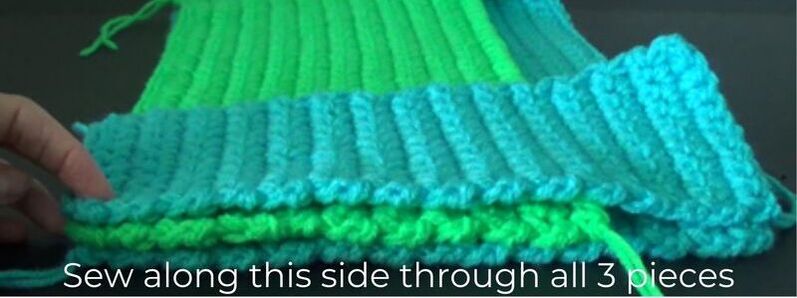
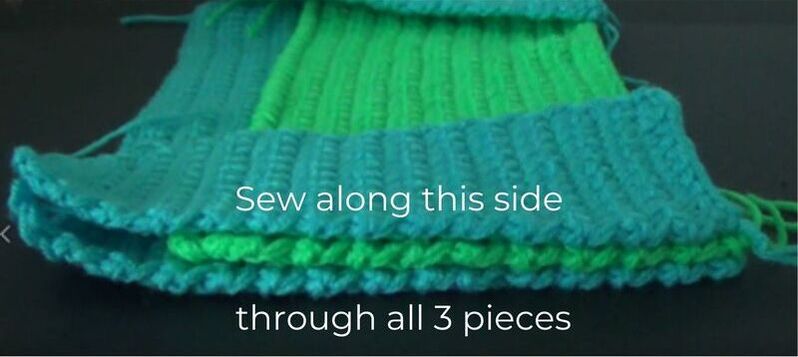
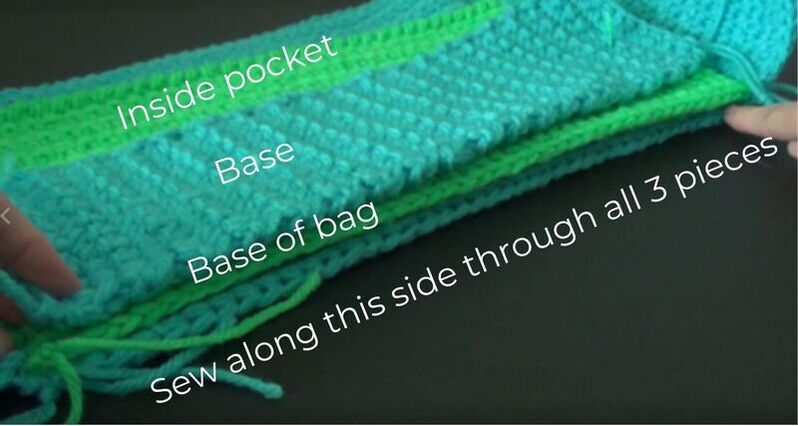
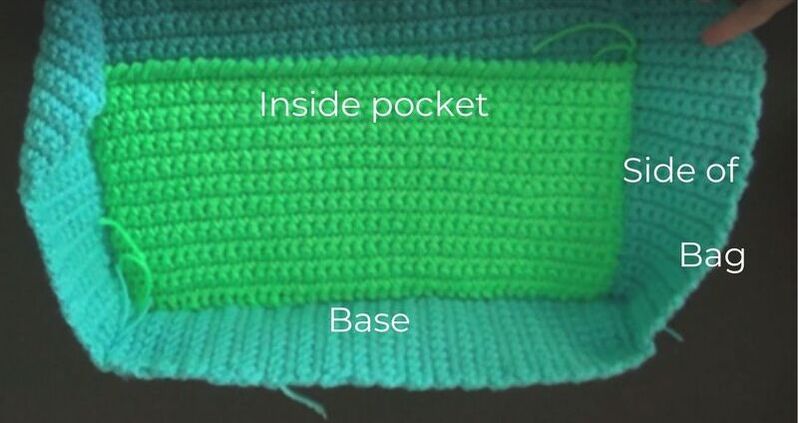
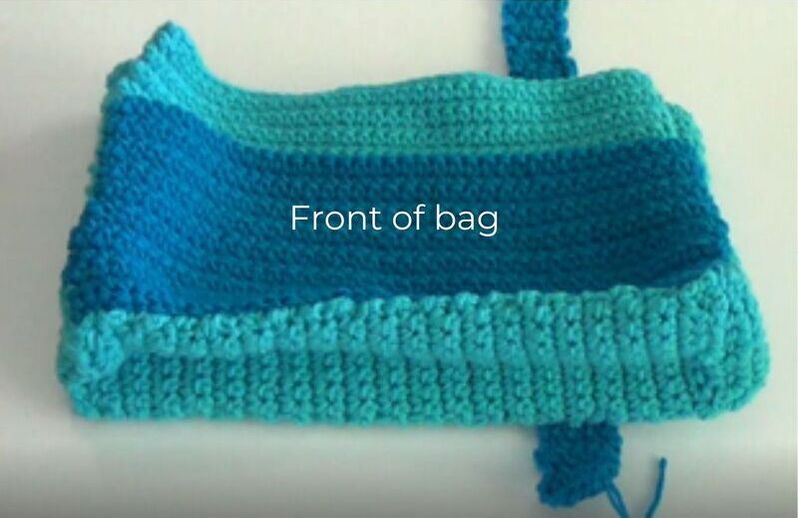
Stack the following 3 pieces on top of each other - also see image
Place back piece right side down on table with the first row at the bottom, place the inside pocket with right side facing up with first row at the bottom, place 1 side piece right side facing up with the first row at bottom and line it up at the side of the work
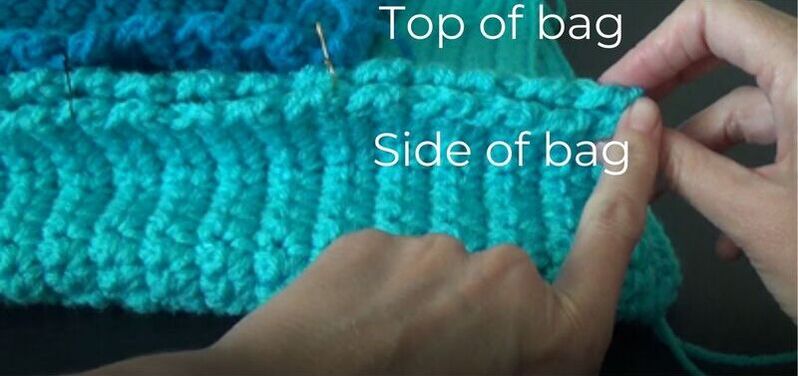
With 1 strand of yarn, sew side together along the side seam through all 3 pieces
(The left hand side of the photo is the first rows of the crochet and the right hand side of the top of the bag)
Sew 2nd side panel to the other end to create the second side
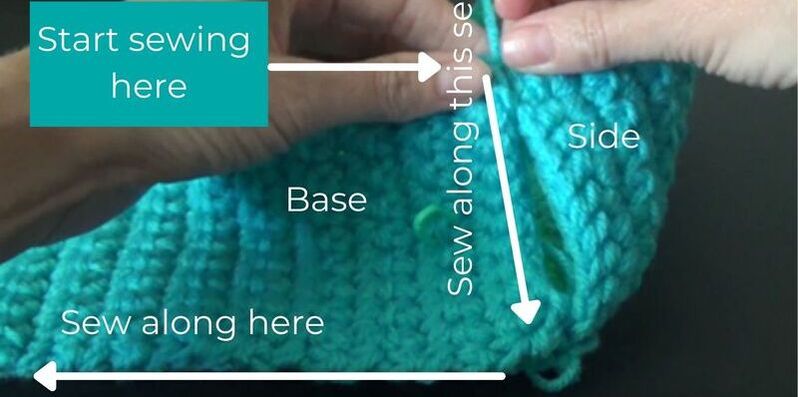
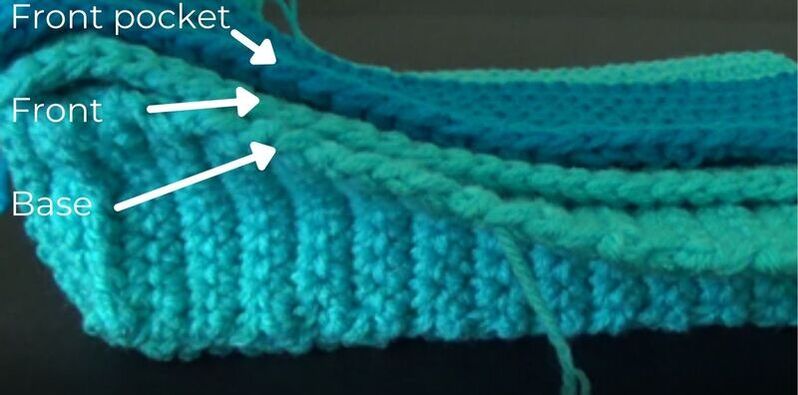
With right side facing up, line up edges of base and bag and sew along edge, starting at the corner of the side of the bag. Sew base to side and then along the base and up the other side to base
Your bag will look like the following photo once base and sides are sewn together
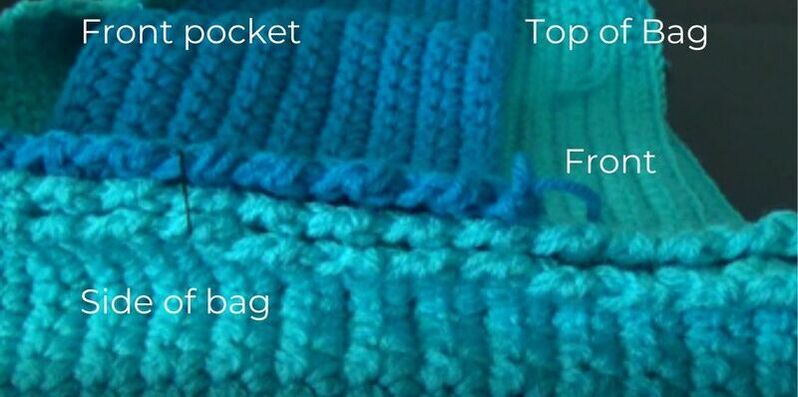
Place your front piece right sides up and place the front pocket on top with the right side facing up
Place both pieces on top of already sewn up bag
Sew front and front pocket to bag (you will be sewing through 3 layers) starting at top corner. Sew side seam, bottom of bag and other side seam
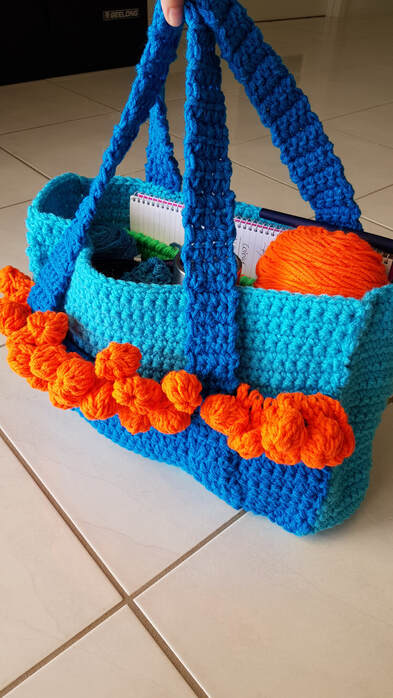
Handle placement
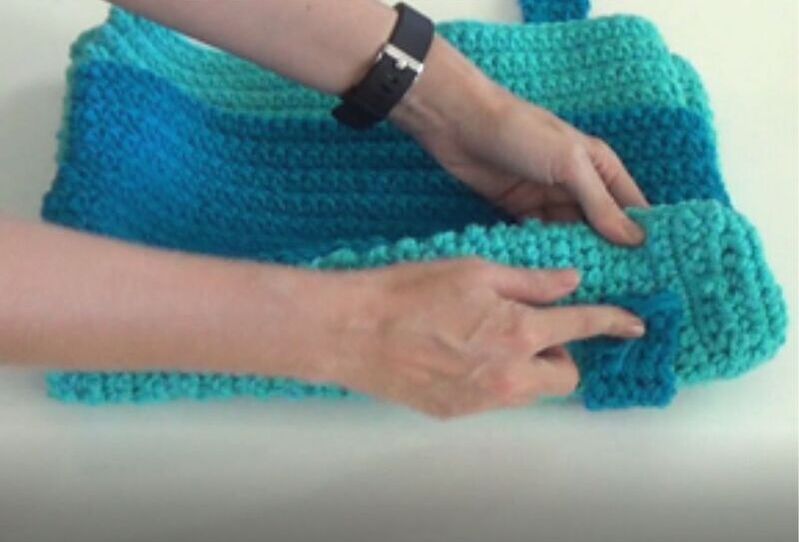
Place 1 the starting row of the strap under the bag with the front pocket of the bag facing up
Make sure the strap only comes up half way across the bass of the bag - see image below
Loop handle over, be careful not to twist. And place other handle under bag - image 1 below
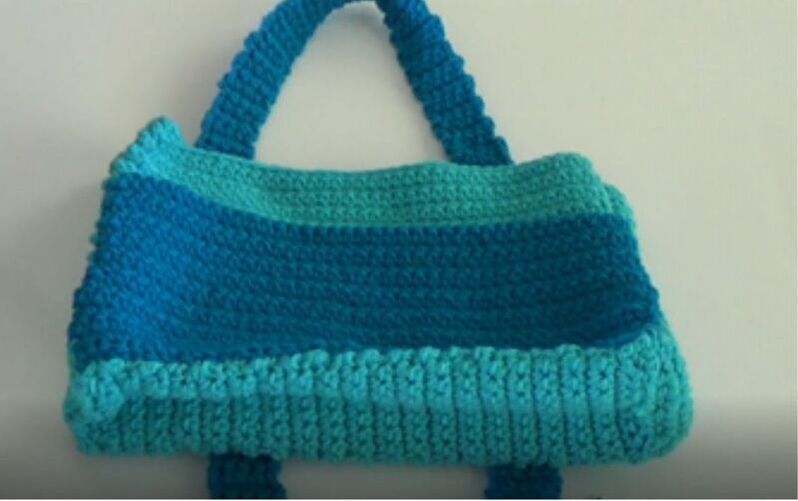
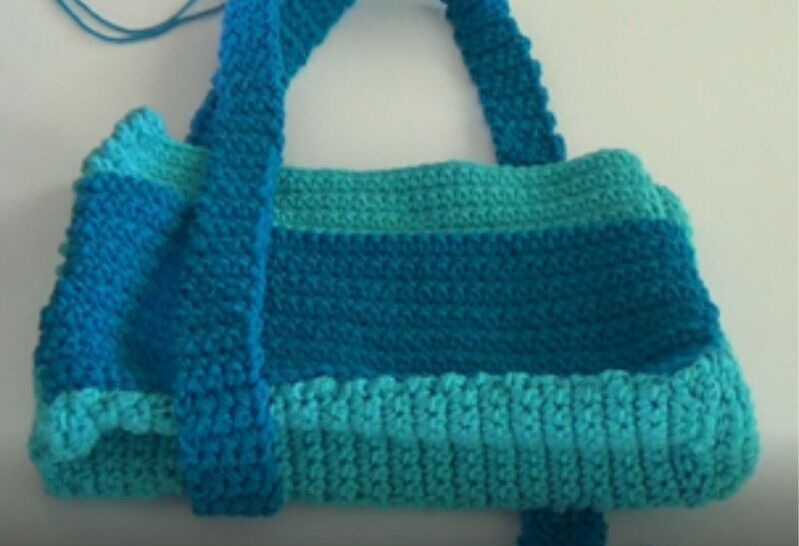
Flip handle up - image 2 below - and over bag, place end of strap lined up with other end of strap - image 3 below
Using whip stitch, sew ends of straps together on the short edges
Stitch straps to bag - tip - only sew to the outside loops of crochet instead of going through layers
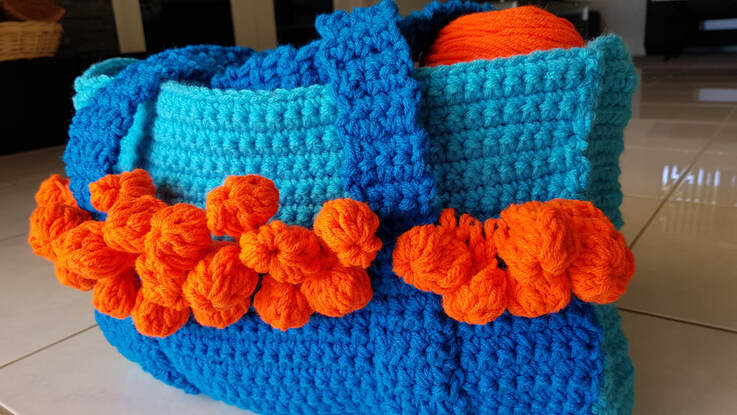
Optional pompom edging
Video tutorial - slightly different to this pattern but a great visual https://www.youtube.com/watch?v=XumQQYOjoI0&t=152s
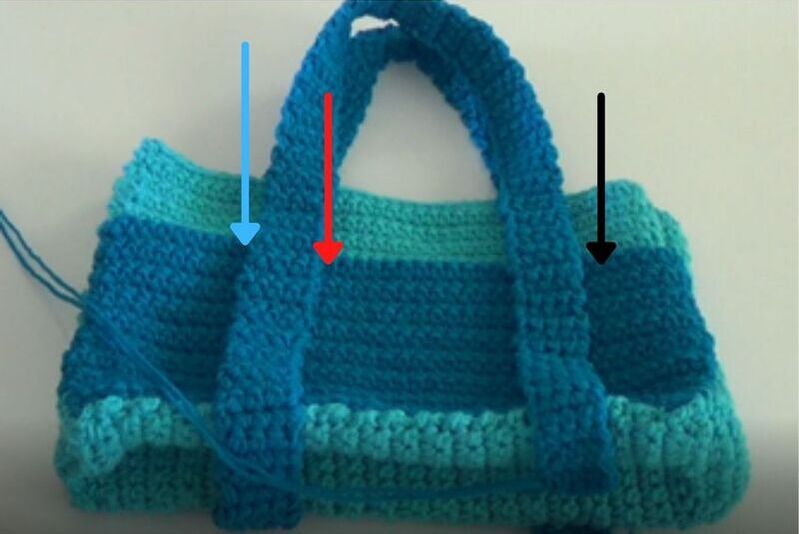
Using 2 strands of colour 4, attach yarn on the top of the outside pocket (black arrow) and work the pompom edging across. I was able to slip stitch behind the handles, if yours are sewn down, finish off yarn and restart where red arrow is pointing and pompom across. I was able to slip stitch behind the handles, if yours are sewn down, finish off yarn and restart where blue arrow is pointing and pompom across
5 dc Cluster stitch - the following instructions are a lot of words for only 5 stitches haha! The Edging instructions start after the cluster explanation
Step 1: Yo on hook.
Step 2: Insert hook into stitch to be worked, yo and draw through.
Step 3: Yo and draw through 2 loops on hook (2 loops remain on hook).
Step 4: Yo on hook.
Step 5: Insert hook into stitch to be worked, yo and draw through.
Step 6: Yo and draw through 2 loops on hook (3 loops remain on hook).
Step 7: Yo on hook.
Step 8: Insert hook into stitch to be worked, yo and draw through.
Step 9: Yo and draw through 2 loops on hook (4 loops remain on hook).
Step 10: Yo on hook.
Step 11: Insert hook into stitch to be worked, yo and draw through.
Step 12: Yo and draw through 2 loops on hook (5 loops remain on hook).
Step 13: Yo and draw through all loops on hook.
Step 14: Ch 1 to secure
Ch 4 (you can change this to more or less depending on how dangly you want them)
*ch 3, cluster into the 3rd ch from hook (the cluster will have 5 stitches which is made up of ch 3, 4 dc’s) *repeat from * to * once more for the second half of the pompom. Fold the top half of pompom to the back (away from you) and slip stitch from the back of the work into the ch the 1st half of the bobble was worked into. Ch 4 (if you changed the amount of chains you did to make it more dangly, do that many again) skip a stitch and slip stitch into the next space.
Repeat all of the directions across the row and slip stitch into the last space

