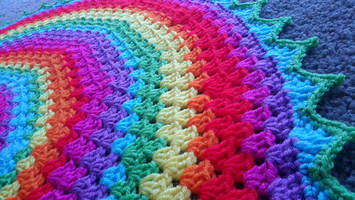
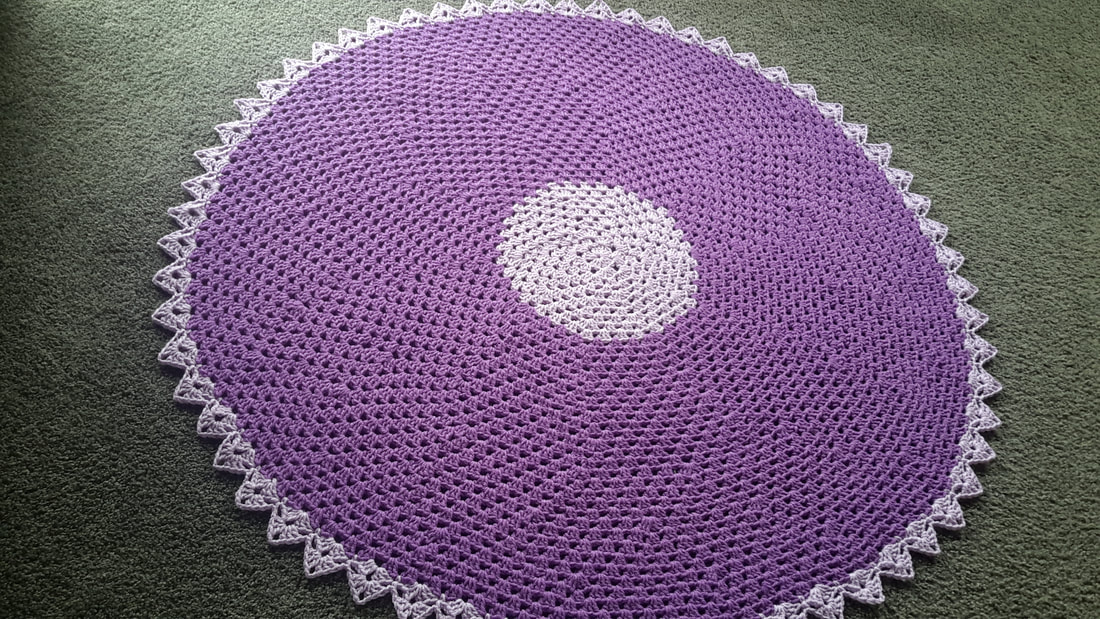
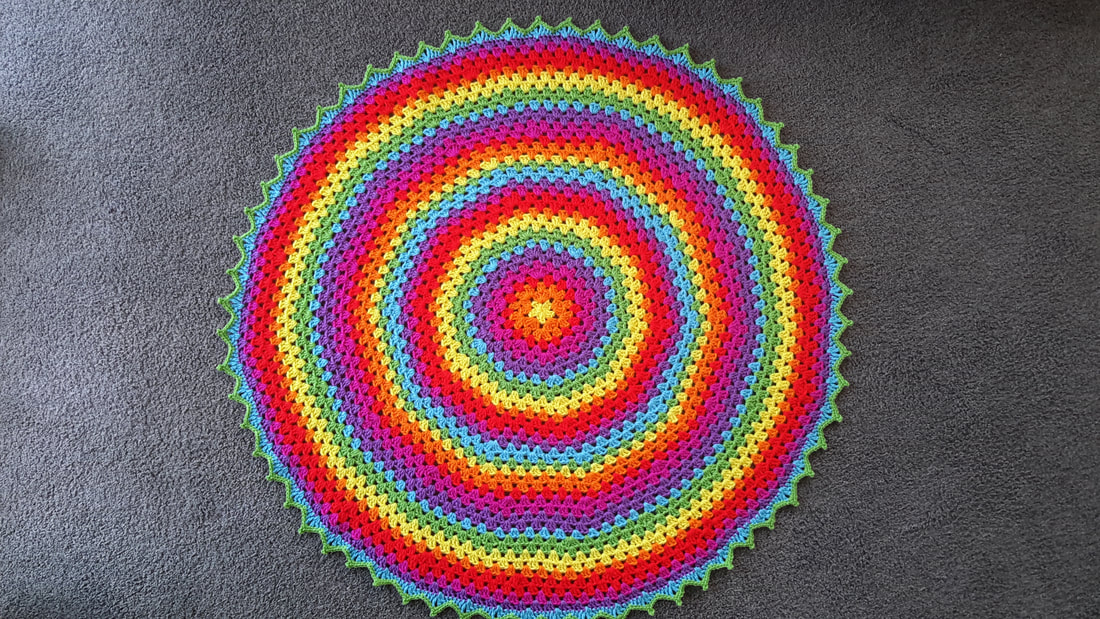
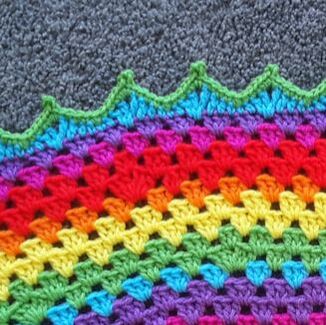
Round Granny Blanket
Would you like to buy me a cup of tea to say thank you for the free video tutorial and written pattern?
Buy me a coffee
Buy me a coffee
Add this to your Ravelry queue or project page
This pattern was part of a CAL / crochet-a-long so there are 7 parts to the tutorial. All of the videos can be found below
I have many people ask me how to make the blanket bigger and the advice i give is below, many people have had great success
To make the blanket bigger So your last increase round is ....round 36 and its is - shell into the next 5 spaces inc into the next You could try following the increases and go back to round 11 and - shell into the next 6 shells, increase into the next ..... Then follow the instruction from there....havnt tried it myself but I gave this advice to another lady and she managed to get it to 70 rounds :)
Designed by Clare Sullivan
Video tutorial - https://www.youtube.com/playlist?list=PLBAl2EuIYeKvX-BhiIIEeoZiN6HiqzL9U
US terminology
Beginner to Intermediate (counting involved and pattern reading experience needed)
Red heart super saver worsted weight yarn -1 x 7 oz / 200 grams of each colour for the rainbow will be plenty and you will have left overs
I used approximately 4 x 7 oz of medium purple and 1 pale plum blanket
5 mm / H hook – I have loose tension so if you don’t go with a 5.5mm / I hook
NOTE: One of my fabulous testers Sherri O made hers with US Chunky yarn and a 6mm hook
Scissors
Yarn needle
LOTS of stitch markers – if you don’t have lots, a packet of cheap paper clips work fine – I use them to mark out increases when we get to about round 20 – its reminds me to increase. If you are awesome and do not need reminding then you won’t need them J
Notes
- Beginning shell – ch 3, 2 dc into same space – these are worked at the beginning of the round only
- The pattern will not have beginning shell written into it, it will just have shell – if you are at the beginning of the round use the beginning shell J
- Shell = 3 dc (3 double crochet)
- Increase shell – (shell, ch 1, shell) all into the same space
- At the end of each round – join with a slip stitch to the top of the beginning ch 3
- After joining slip stitch across to the next space
- If you want to change colour you MUST join your new colour in the NEXT ch space after the join
- On some of the rounds we start midway through a repeat, it will be finished off when we come around and finish the round
Magic circle or ch 4 and join with a slip stitch to the 1st ch
1 - (shell, ch 1) x 5 – 5 shell and ch 1’s total – join with a slip stitch to the top of the ch 3, if you are not changing colours remember to slip stitch across to next space - If you want to change colour you MUST join your new colour in the NEXT ch space after the join
2 - Inc (see notes for increase) in each ch 1 space – join with a slip stitch to the top of the ch 3, your work may ruffle a little bit, it will even out J if you are not changing colours remember to slip stitch across to next space - If you want to change colour you MUST join your new colour in the NEXT ch space after the join
3 - *Shell, inc in next space* repeat from * to * around – note: shell goes into previous increase ch 1 space and inc into previous shell space – your work may ruffle a little bit, it will even out J join with a slip stitch to the top of the ch 3, if you are not changing colours remember to slip stitch across to next space - If you want to change colour you MUST join your new colour in the NEXT ch space after the join
4 - Shell in each space around – NO ch 1 – join to the top of the ch 3 with a slip stitch - join with a slip stitch to the top of the ch 3, if you are not changing colours remember to slip stitch across to next space - If you want to change colour you MUST join your new colour in the NEXT ch space after the join
5 - *Shell in the next 2 spaces, inc in the next space* – repeat from * to * around – this is the last time I will remind you to do the following J – join with a slip stitch to the top of the ch 3, if you are not changing colours remember to slip stitch across to next space - If you want to change colour you MUST join your new colour in the NEXT ch space after the join
6 - *Inc, shell in the next 3 spaces* repeat from * to * around
On some of the rounds we START midway through a repeat, it will be finished off at the END of the round.
7 - 1 shell in each space around
8 - Shell in the next 2 spaces inc in the next space *shell in the next 4 spaces, inc in the next space* repeat from * to * around
9 - *shell in the next 5 spaces, inc in the next space * repeat from * to * around
10 - Repeat 7
11 - Shell in the next space, inc in the next space *shell in the next 6 spaces, inc in the next space * repeat from * to * around
12 - Shell in the next 5 spaces, inc *shell in the next 7 spaces, inc in the next space * repeat from * to * around Place rug on a flat surface to make sure it is lying flat, smooth out with hands. If your rug is not lying flat at any stage of the pattern, go straight to the next increase round (this is any round that isn’t repeat 7)
13 - Repeat 7
14 Repeat 7
13 - Repeat 7
14 Repeat 7
15 - Shell in the next 4 spaces, inc in the next space *shell in the next 8 spaces, inc in the next space* repeat from * to * around
16 - *Shell in the next 9 spaces, inc in the next space * repeat from * to * around
17 - Repeat 7
16 - *Shell in the next 9 spaces, inc in the next space * repeat from * to * around
17 - Repeat 7
|
|
|
|
Place rug on a flat surface to make sure it is lying flat, smooth out with hands
When Sherri O was testing the pattern with Chunky yarn, at this stage of the pattern her rug started to curl up at the edges, if this happens anywhere in the pattern, go straight to the next increase round (this is any round that isn’t repeat 7)
When Sherri O was testing the pattern with Chunky yarn, at this stage of the pattern her rug started to curl up at the edges, if this happens anywhere in the pattern, go straight to the next increase round (this is any round that isn’t repeat 7)
18 - Repeat 7
19 - Shell in the next 8 spaces, inc in the next space *shell in the next 10 spaces, inc in the next space* repeat from * to * around
20 - Shell in the next 2 spaces, inc into the next *shell into the next 11 spaces, inc into the next space* repeat from * to * around
21 - Repeat 7
19 - Shell in the next 8 spaces, inc in the next space *shell in the next 10 spaces, inc in the next space* repeat from * to * around
20 - Shell in the next 2 spaces, inc into the next *shell into the next 11 spaces, inc into the next space* repeat from * to * around
21 - Repeat 7
22 - Shell into the next 8 spaces, inc into the next *shell into the next 12 spaces, inc into the next space* repeat from * to * around
23 - Shell into the next space, inc into the next space * shell into the next 13 spaces, inc into the next space* repeat from * to * around
24-25. Repeat 7
26 - *Shell into the next 4 spaces, inc into the next* repeat from * to * around
23 - Shell into the next space, inc into the next space * shell into the next 13 spaces, inc into the next space* repeat from * to * around
24-25. Repeat 7
26 - *Shell into the next 4 spaces, inc into the next* repeat from * to * around
27-30. Repeat 7
31 - Repeat 26
32 - 35 Repeat 7
36. Shell in the next 4 spaces, inc into the next *shell into the next 5 spaces, inc into the next space* repeat from * to * around
37-39. Repeat 7
NOTE - to make the blanket bigger
Your last increase round is.round 36. You follow the increases and go back to round 11 (Shell into the next 6 shells, increase into the next). Then follow the instruction from there, this is what others have tried and had great success with it.
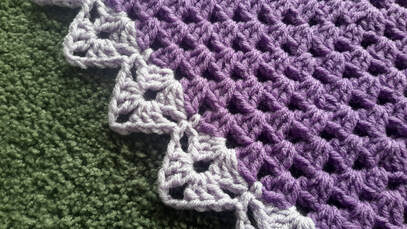
Edging
Option 1
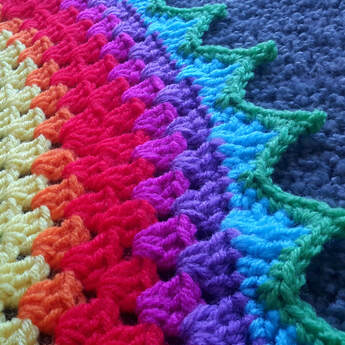
1 - Join yarn in any new space or if not changing colour slip stitch across to next space Ch 5 (counts as first treble and ch 1) treble into same space *dc into next stitch, hdc into next stitch, sc into next 2 stitches, hdc into next stitch, dc into next stitch (treble, ch1, treble) into next space* repeat from * to * around. Ending with a dc join with a slip stitch to the 4th ch. Finish off
2 - Join new colour in any ch 1 space, *(sc, ch 2, picot (after the ch 2 slip stitch into the top and side loop of the sc) sc) into the same ch 1 space, sc into the next 3 stitches, sc dec over the next 2 stitches – this is the 2 sc from the previous round, sc into the next 3 stitches*
Option 2
Join yarn in any new space or if not changing colour slip stitch across to next space
1 - (Ch 3, 2 dc, ch 3, 3 dc) into same space, sc into the next space *(3 dc, ch 3, 3 dc) into the next space, sc into the next space* repeat from * to * join with a slip stitch to the top of ch 3
Join new colour into ch 3 space or slip stitch across to ch 3 space
If you find that this round will not lay flat you can do a ch 2 instead of the ch 1 either side of the sc
2 - (Ch 3, 2 dc, ch 3, 3 dc) into same ch 3 space *ch 1, sc into the sc from previous round, ch 1 *(3 dc, ch 3, 3 dc) into the next ch 3 space* repeat from * to * join with a slip stitch to the top of ch 3
Thank you for choosing my pattern
Happy crochet
Clare xx
